Microsoft Intune
This book section is for MS Intune related documentations
- Dynamic Device Group for Company-Owned Windows Devices
- HOW TO: Join a Windows Computer to Microsoft Intune
Dynamic Device Group for Company-Owned Windows Devices
|
Field |
Details |
|
Document Type |
How-To Guide - Create a Dynamic Group Runbook |
|
Applies To |
Microsoft Entra ID & Microsoft Intune |
|
Audience |
2nd Line, Entra ID & Intune Admin |
|
Author |
AK. Udofeh |
|
Last Updated |
Nov 2025 |
Overview
This document explains how to create a dynamic device group in Microsoft Entra ID (formerly Azure AD) that automatically includes all Company-owned Windows devices that are Microsoft Entra-Joined. This group can then be targeted for Intune policies.
Key properties used
-
Devices: Windows 10 and Windows 11
-
Enrollment: Manual Microsoft Entra join by users
-
Ownership: Company (Corporate-owned)
-
Management: Intune-managed (MDM)
-
Goal: Automatically group these devices without manual assignment.
Steps to Create the Dynamic Device Group
-
Sign in to Entra Admin Center
-
Go to Intune Admin Center Microsoft Intune admin center
-
Navigate to Groups > All Groups.
-
Click + New Group.
-
Group type: Security
-
Group name: Corporate Windows Devices
-
Membership type: Dynamic Device
-
Add Dynamic Membership Rule
-
Under Dynamic membership rules, click Edit.
-
Choose Rule syntax and paste the following:
(device.deviceOSType -eq "Windows") and (device.trustType -eq "AzureAD") and (device.deviceOwnership -eq "Company") and (managementType -eq "MDM")Rule Breakdown
-
device.deviceOSType -eq "Windows" - Includes Windows devices only.
-
device.trustType -eq "AzureAD" - Ensures the device is Microsoft Entra-Joined (not hybrid or registered only).
-
device.deviceOwnership -eq "Company" - Filters for University-owned devices.
-
managementType -eq "MDM" - Includes devices managed by MDM (Intune), excludes None and co-managed hybrid devices (MDM/AD) in most cases.
Limitation: Some co-managed or misreported devices may still appear; manual validation may be required.
Validate and Save
-
Click Validate Rules to confirm matching devices.
-
Save and create the group.
Common Device Attributes & Values
|
Property |
Value |
Meaning |
|
device.trustType |
AzureAD |
Microsoft Entra joined (cloud-only) |
|
|
ServerAD |
Hybrid joined (on-prem AD + Entra) |
|
|
Workplace |
Registered only (personal/BYOD) |
|
device.deviceOwnership |
Company |
Corporate-owned device |
|
|
Personal |
User-owned device |
|
device.deviceOSType |
Windows |
Windows OS devices only |
|
managementType
|
MDM
MDM/AD Unknown |
Managed via Intune or another MDM Hybrid-managed Not managed |
|
device.deviceCategory |
Type in your device category name |
This depends on the category name that has been provisioned already |
Dynamic groups are evaluated automatically whenever device properties change.
Ensure devices are marked as Company-owned during or after enrollment.
Combine a broad dynamic device group with compliance/enrollment policies and manual validation to ensure only Intune-managed devices receive policies.
HOW TO: Join a Windows Computer to Microsoft Intune
|
Field |
Details |
|
Document Type |
How-To Guide - Join a Windows Computer to MS Intune Runbook |
|
Applies To |
Microsoft Entra ID & Microsoft Intune |
|
Audience |
2nd Line, Entra ID & Intune Admin |
|
Author |
AK. Udofeh |
|
Last Updated |
Nov 2025 |
Overview
This guide details the steps to follow to join a Company-owned Windows computer to Entra ID (formerly known as Azure AD). Joining a device to Microsoft Entra ID enables a secure Single Sign-On (SSO) experience to Corporate Apps, policy-based device management via Intune, and access controls via Entra ID Conditional Access Policy. It also allows Administrators to enforce compliance, manage updates, and remotely wipe lost or stolen devices.
The device must be Windows 10 or 11 Pro, Enterprise or Education. The device must have internet access to reach Microsoft Entra services during the join process. User must sign in with the Organisation's account, and the account must have permissions to join devices.
If another MDM agent (or on-prem AD join with GPO) is active, joining may fail or cause conflicts.
Your old workgroup profile will be separate from the new Entra ID profile, and some personalisation may be lost. As such, you may want to move your data in the Downloads, Documents, and Desktop folders and export your Internet browser bookmarks, saved passwords and store the backup files in OneDrive or Box Cloud Storage before starting the device join process.
You may have to install Company Portal from Microsoft Store if it is not already installed on your device.
Bonus: You may want to follow these links for a guide on how to export and restore your browser bookmarks and saved passwords.
HOW TO: Export & Import Microsoft Edge Browser Password
HOW TO: Export & Import Microsoft Edge Browser Bookmarks
HOW TO: Export & Import Chrome Browser Passwords
HOW TO: Export & Import Chrome Browser Bookmarks
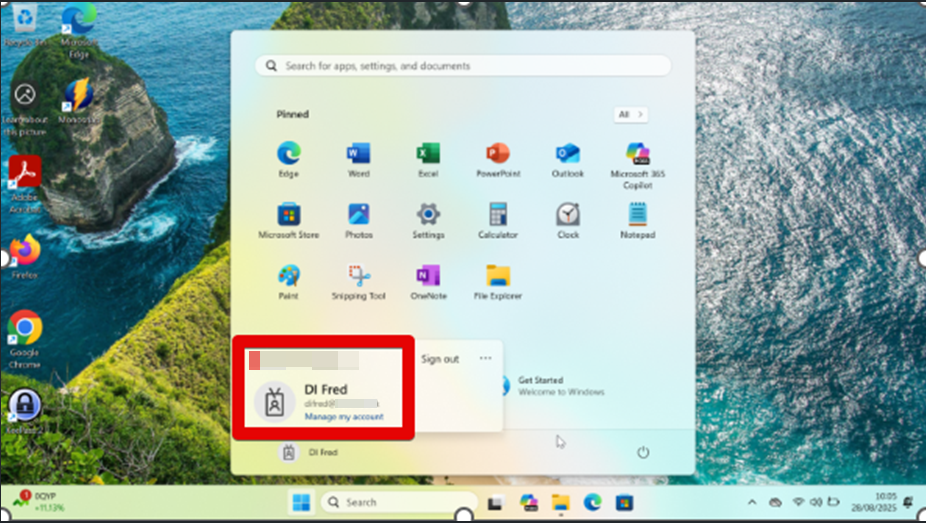
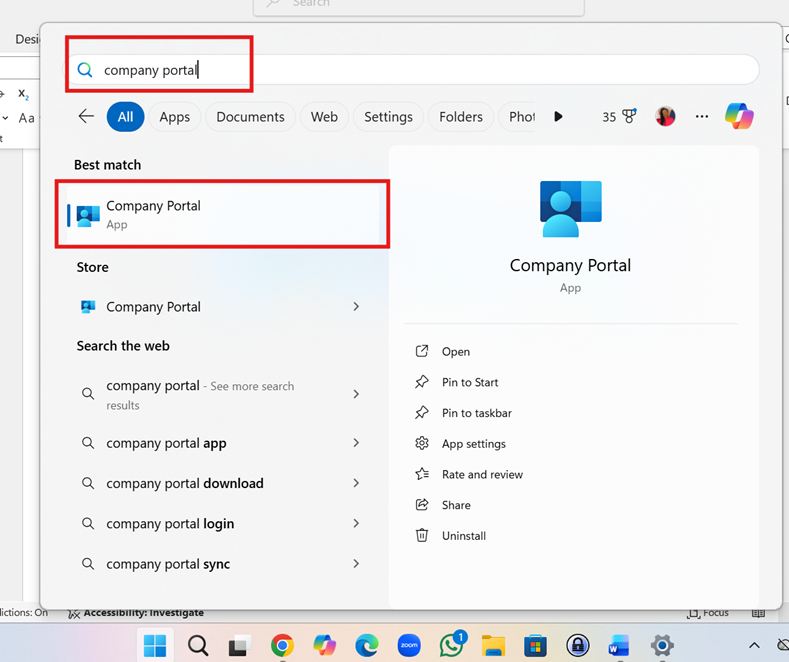
Step 1: Click the Start menu on the Taskbar > type “Company Portal” in the search bar and click on the Company Portal App to open.
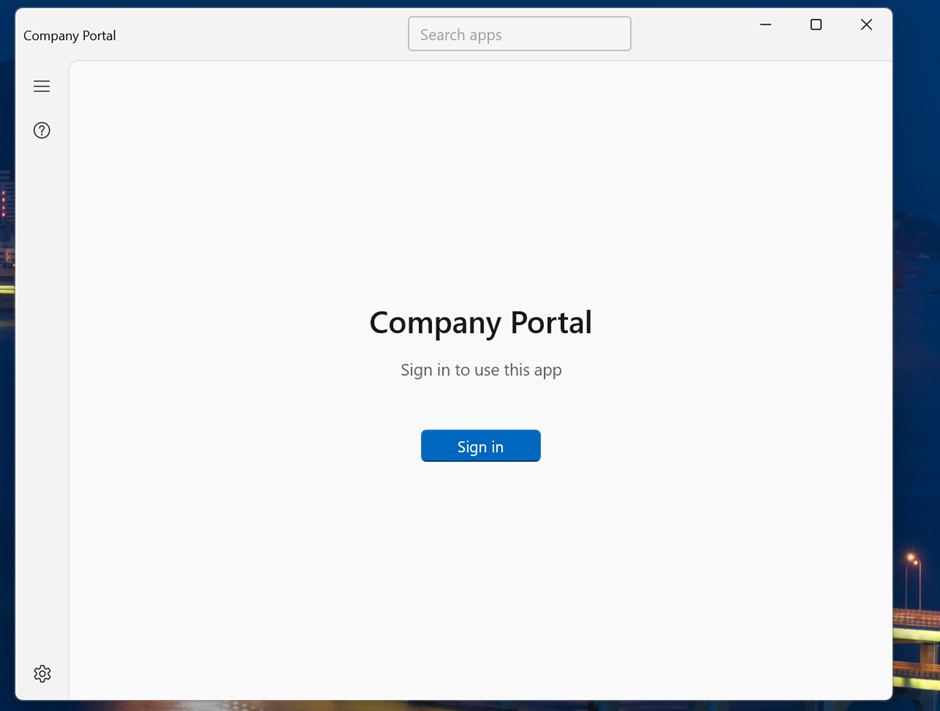
Step 2: Click “Sign in”.
Step 3: Type in your username and click Next.
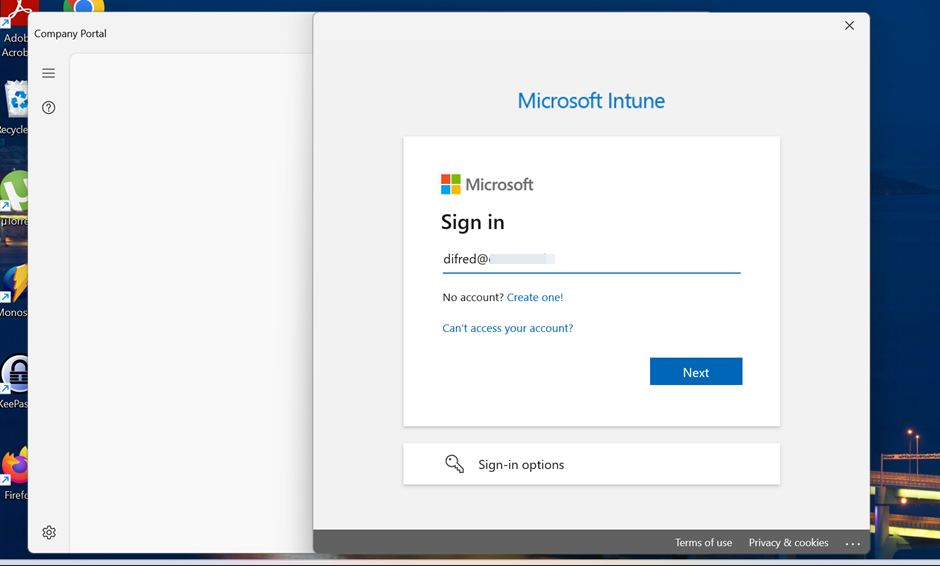
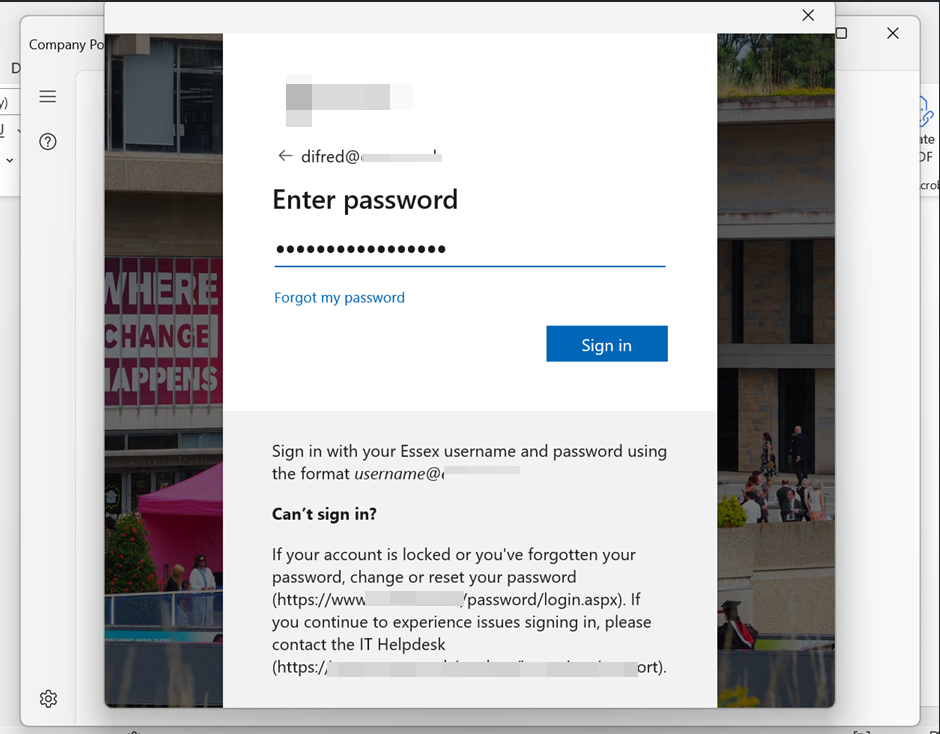
Step 4: Type in your password and click Sign in.
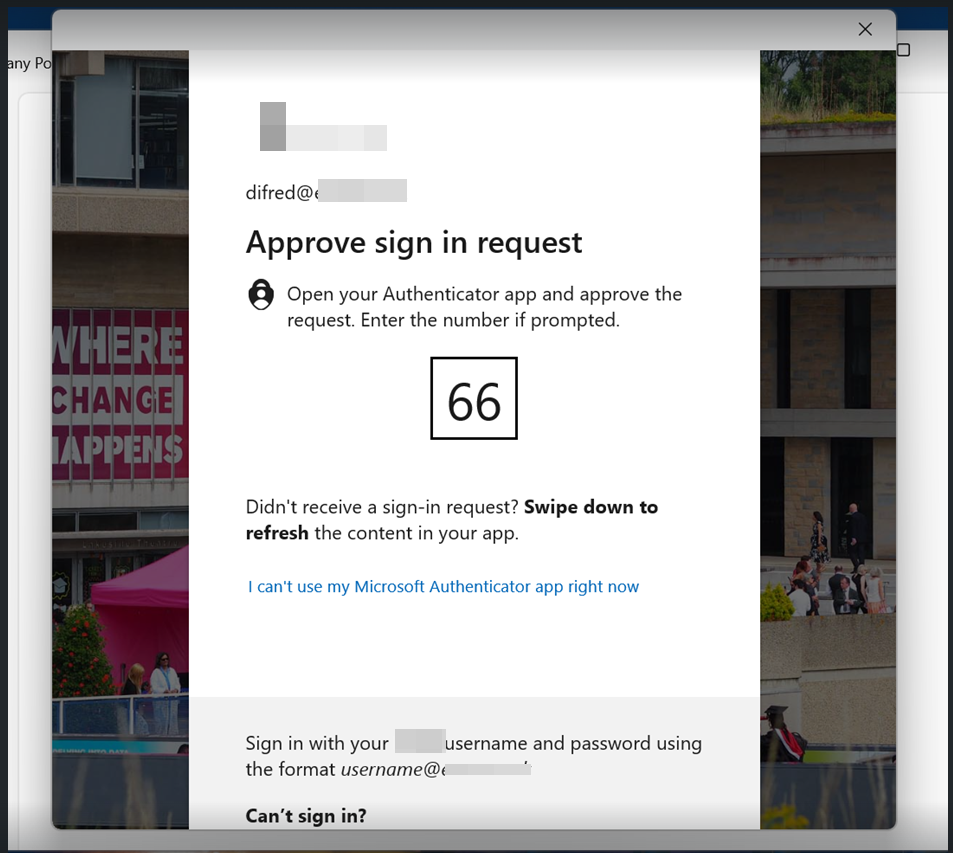
Step 5: Type in the number shown into your Authenticator App to verify your log in.
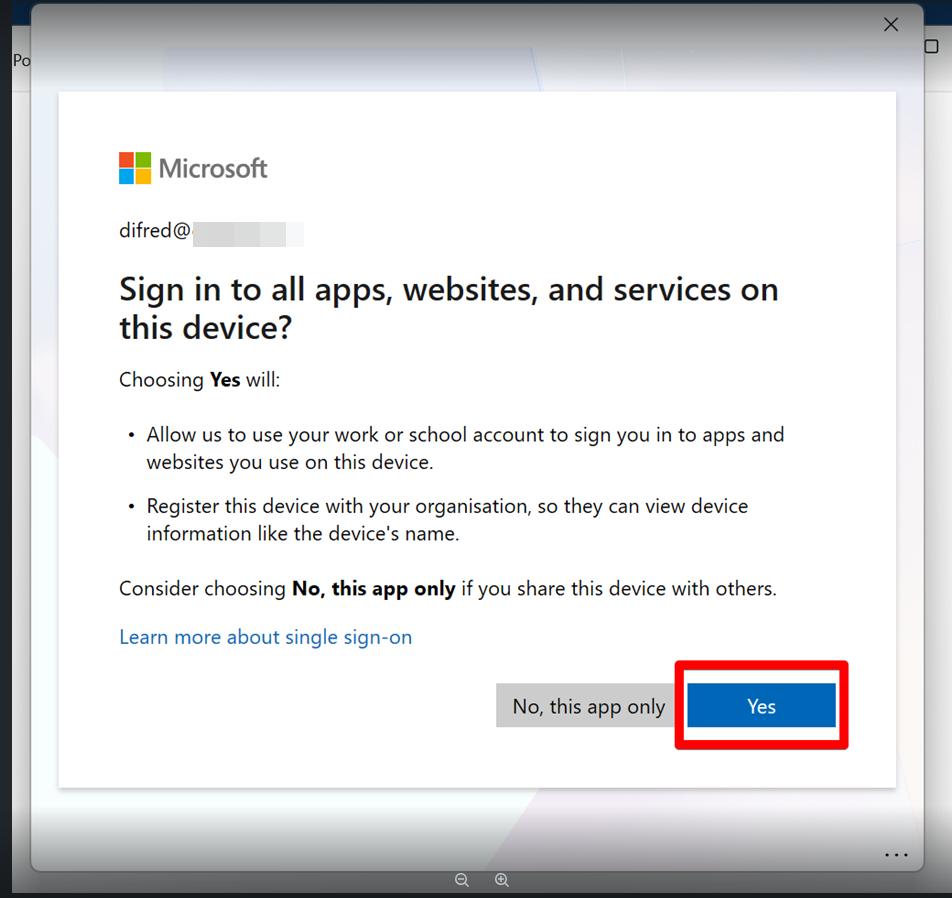
Step 6: Click “Yes” to register your device with Entra ID.
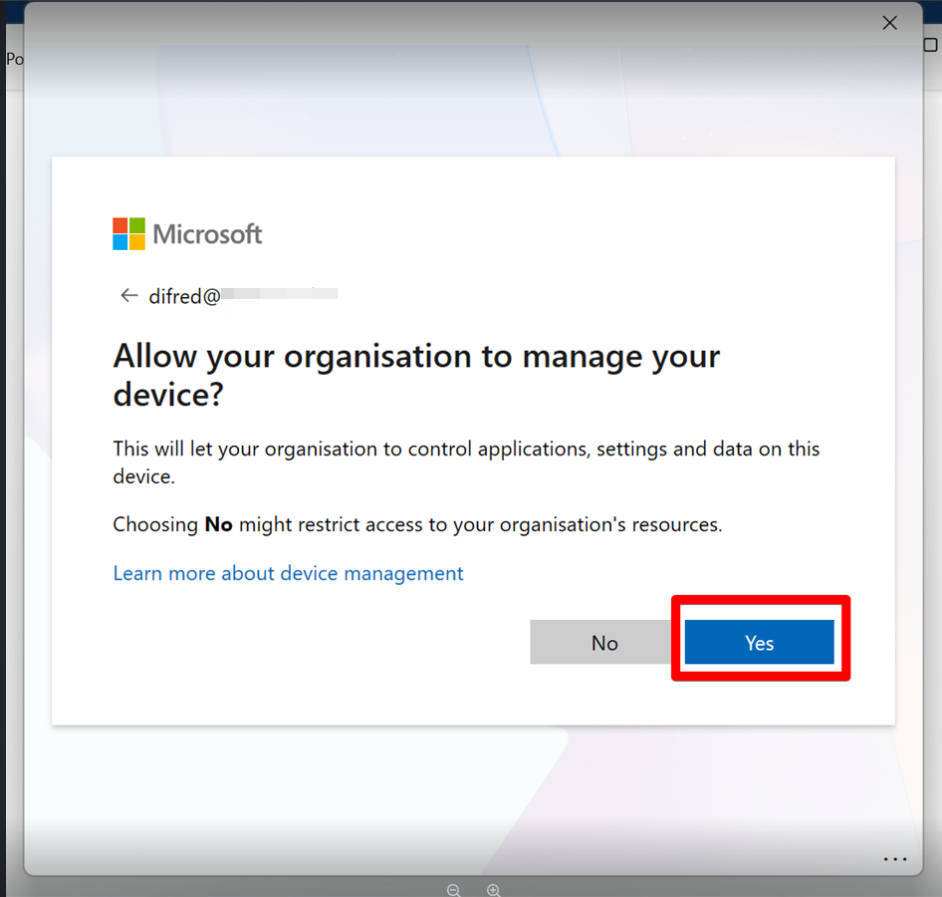
Step 7: Click “Yes” to enrol your device for management in Intune.
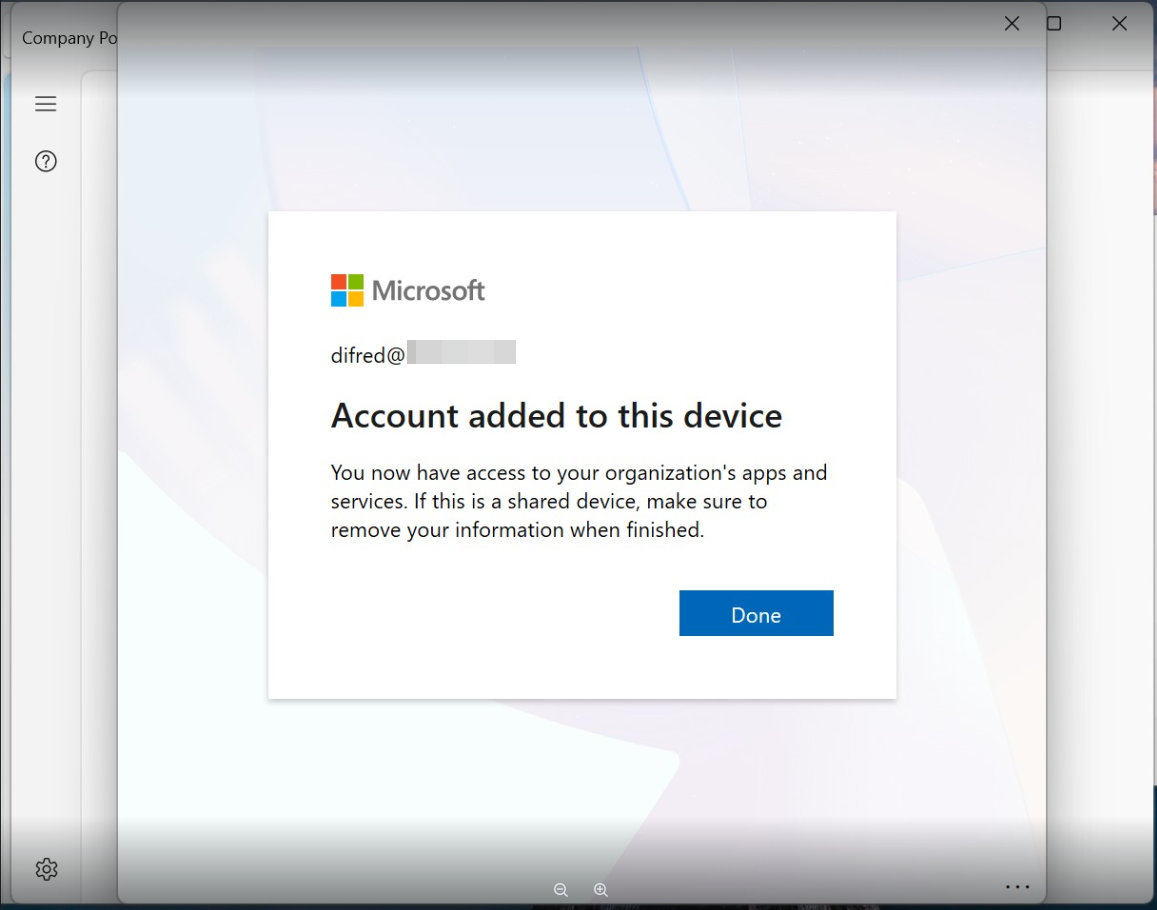
Step 8: Allow the registration process to complete

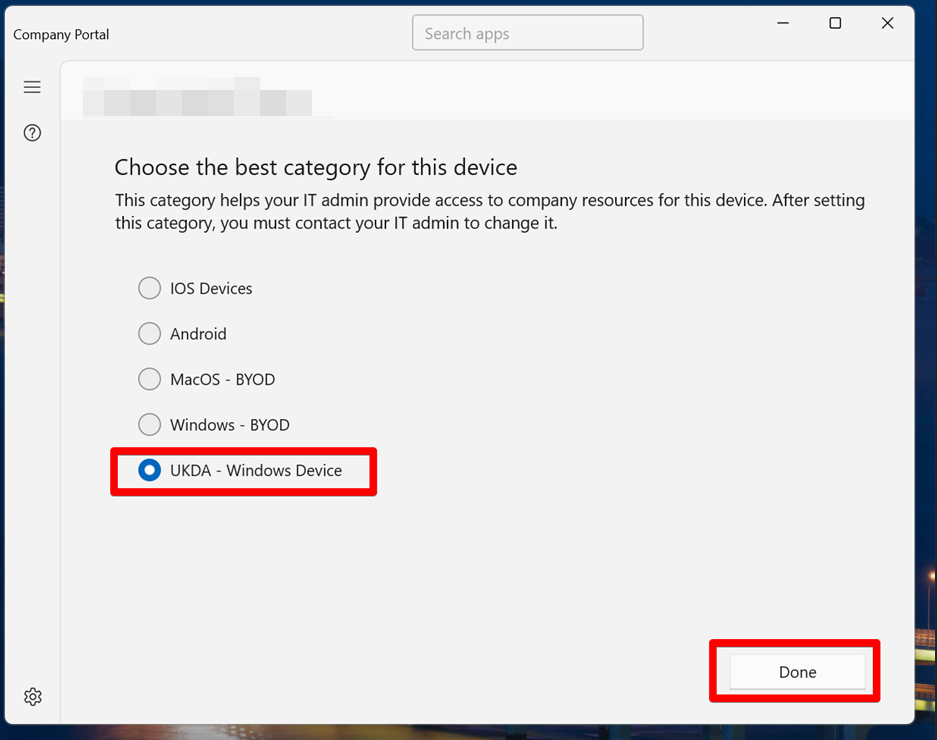
Step 9: Select the category for this device (if unsure, please reach out to Helpdesk)
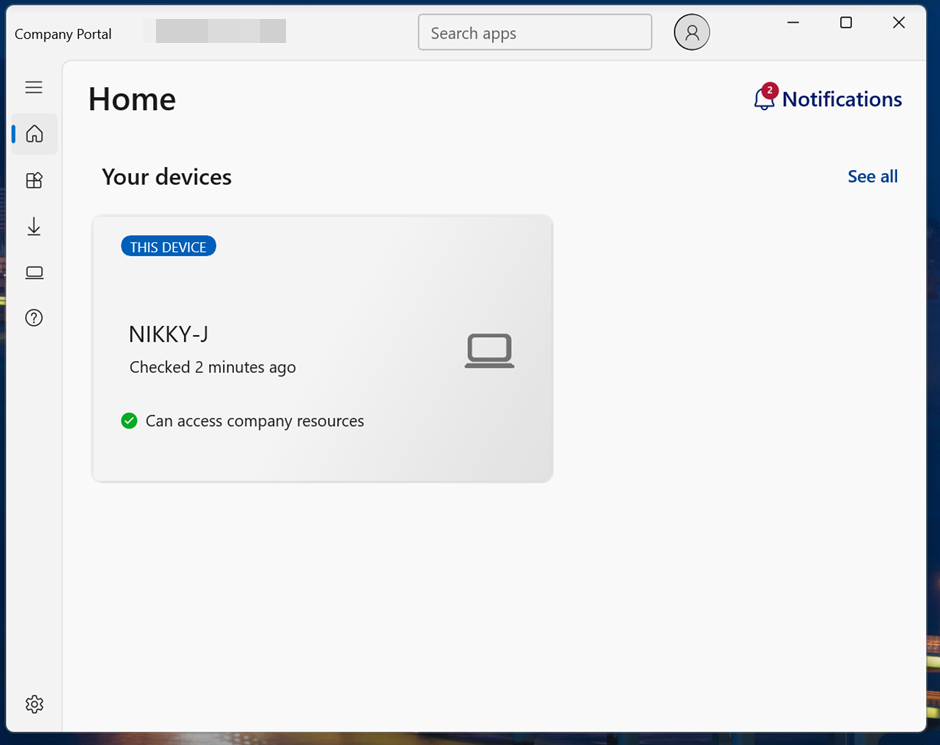
Step 10: Device enrolment successfully completed.
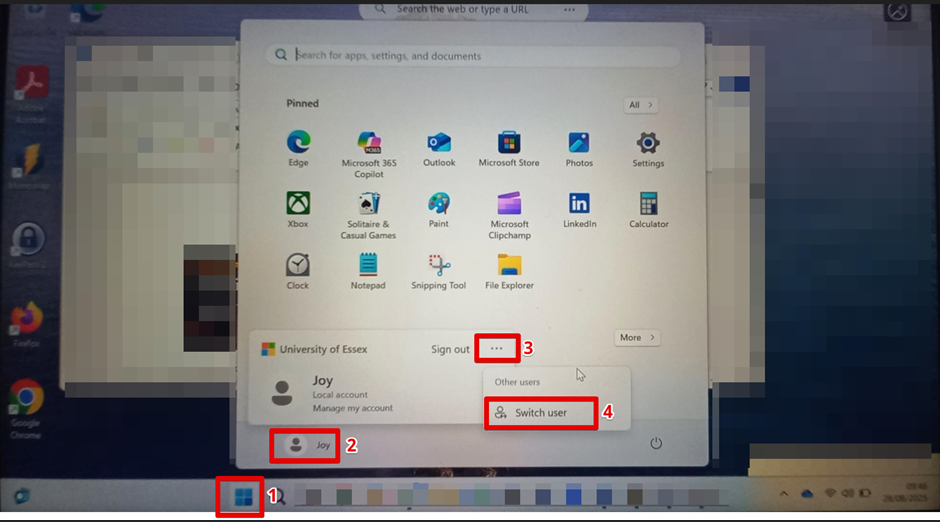
Step 11: You will need to "switch users" to log in to your new Organisation's account on your device. Click “Start” Menu > click your current user account > click three-dot menu > click “Switch user”.
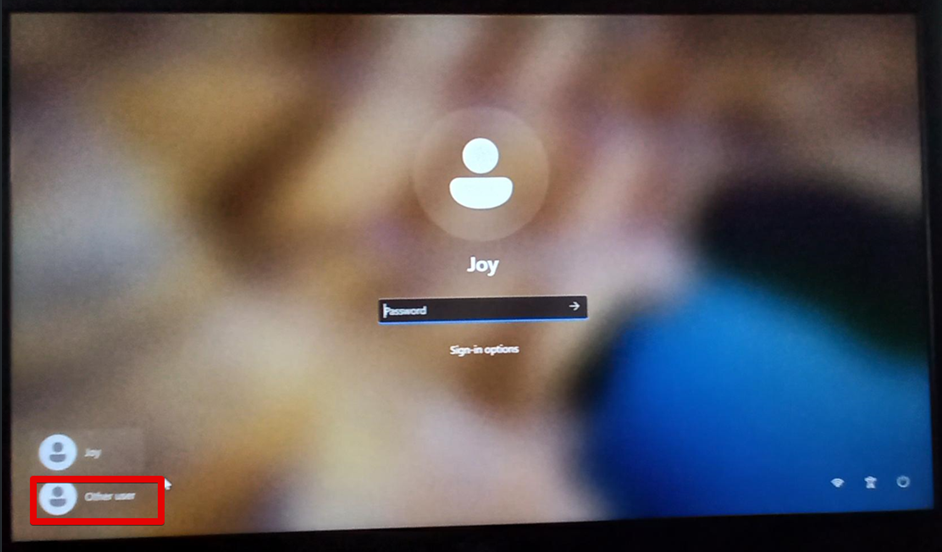
Step 12: Click “Other user” to sign in with your Organisation's domain account.
Step 13: Type in your Organisation's domain account and password.
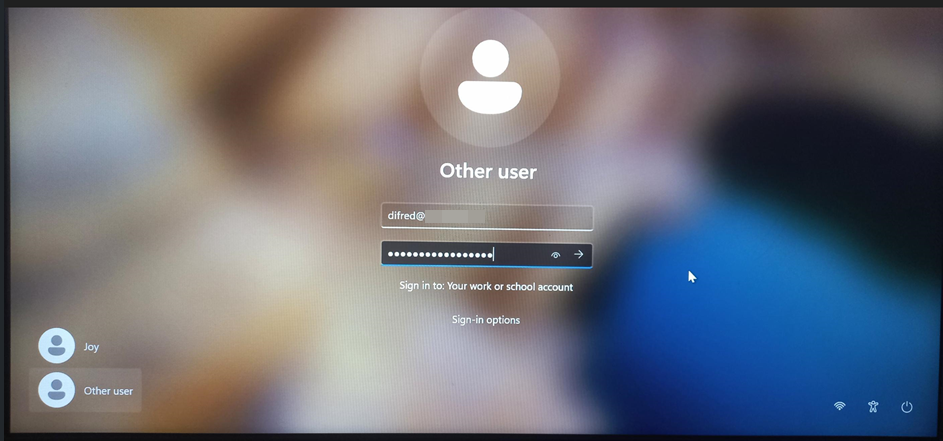
Step 14: Viola, you’re now in.